Section Notes
Evidence pages answer why a completed mission still scored poorly by connecting map search with debrief requirements.
Start Here
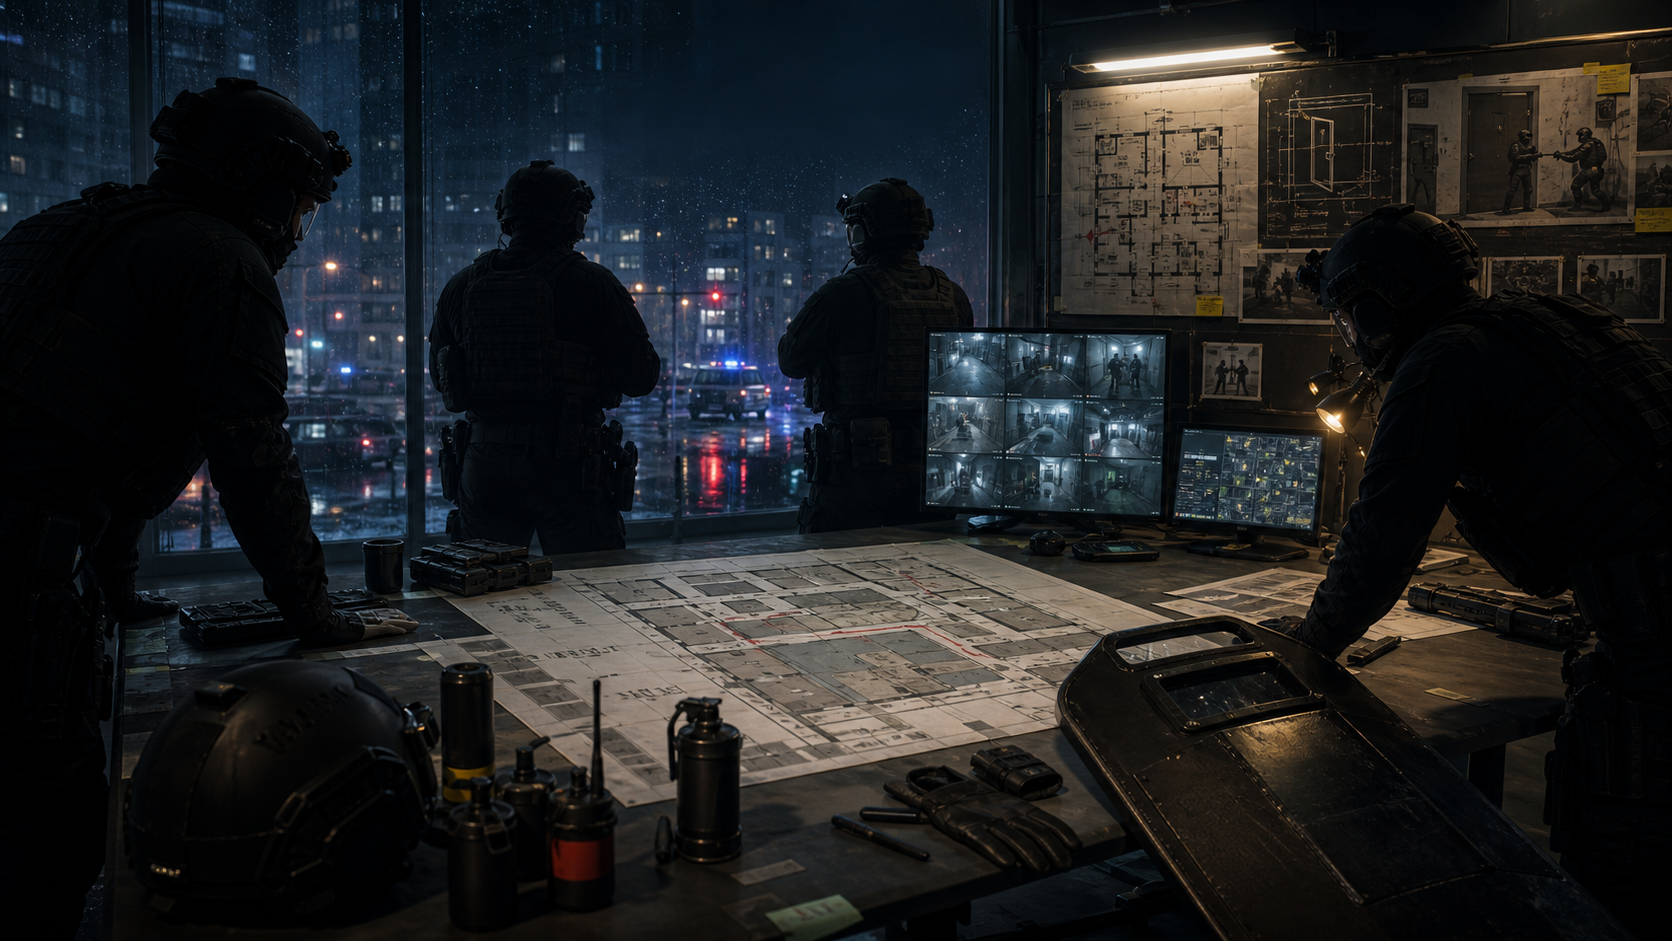
- Ready or Not Evidence Bagging Checklist: Weapons, key items, and contact state need checks; one final lap is cheaper than replaying the map.
- Ready or Not Bathrooms, Closets, and Small-Room Cleanup: Small rooms hide civilians, weapons, and fake surrenders; mark them during cleanup.
- Ready or Not Evidence Locker Unlock Logic: Evidence Locker rewards are tied to score tiers; stabilize clears before chasing every unlock.
How To Use This Hub
| Problem | Start with |
|---|---|
| First time on a mission | Read the route, then loadout and scoring pages |
| Repeated score drops | Check evidence, reports, and force penalties |
| Co-op confusion | Split shield, breacher, restraint, and evidence roles |
| S-rank attempts | Keep every suspect and civilian properly handled |